

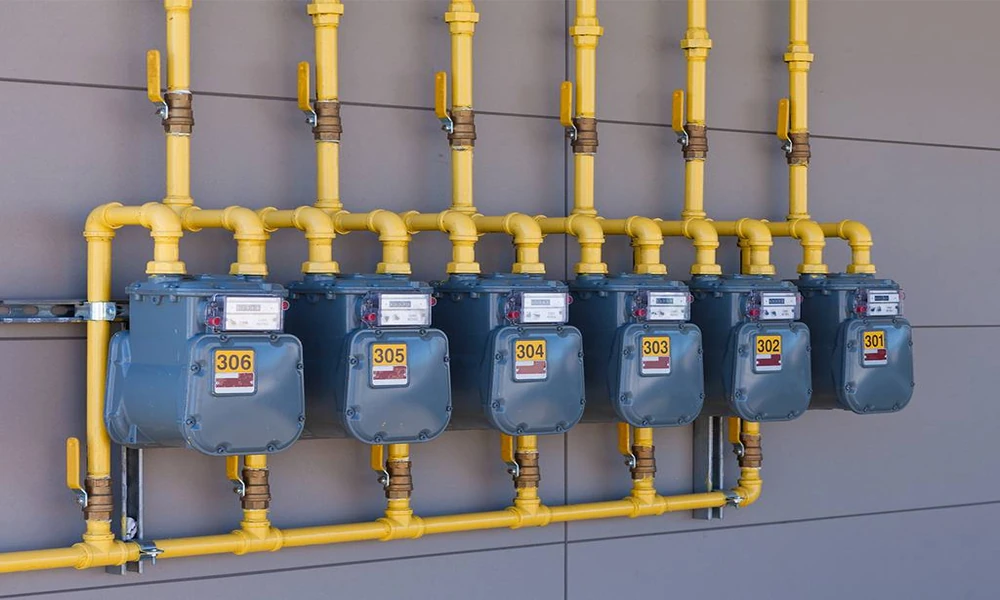
The process of having your house connected to the gas line requires some planning. There will be the involvement of people such as the gas company in your locality, the plumbers, and the city inspectors. Gas comes from a main pipe on the street right to a meter at your house. This gives you a good fuel source for things like heat, hot water, and cooking. Before anyone starts digging, workers look at maps from the gas company. They also get permits so every part of the work follows the rules. The work itself means workers mark where pipes are now, dig a path in your yard, join tough gas pipes, and put in a piece that controls the pressure.
I want you to know that large work sites may use things like flare gas to run big machines by capturing gas that would otherwise go to waste. In homes, though, it is about making sure the gas comes into your house in a safe and easy way when you connect gas to house systems correctly. A device lowers the high street pressure so it comes to your home just right for everyday things.
The 4 Steps of Connecting Your Gas Line
| Installation Step | Gear & Materials Used | What Actually Happens |
|---|---|---|
| 1. Site Survey & Locates | Underground utility flags, ground radar | Marks water, electric, and telecom lines so nothing gets hit during digging. |
| 2. Running the Line | Flexible HDPE pipe, steel riser | Digs or drills a clear path underground from the street main to your house. |
| 3. Mounting the Meter | Gas meter and shut-off valve | Installs the exterior meter and drops high street pressure down to safe indoor levels. |
| 4. Leak & Pressure Testing | Air test kit, pressure gauges | Pumps compressed air into the line to confirm every joint is 100% airtight before turning on the gas. |
1. Locating and Permitting
Before any digging starts, workers show where the power, water, and internet lines are under the ground. They use colored paint or small flags to mark these spots. Your plumber, who must be licensed, gives plans to the city. They choose the best way to run lines from the main at the street to your house wall that is both short and safe.
2. Digging and Laying Pipe
Technicians tap into the main gas pipe that is under the street. From that spot, they pull a strong and bendy high-density polyethylene (HDPE) pipe through your yard. They do this by digging a small trench or by using a drill that goes sideways, so they do not mess up the yard. The pipe comes up next to your house, inside a steel pipe that keeps it safe.
3. Setting Up the Meter and Regulator
Next, the installer puts up the meter frame, the main emergency shut-off valve, and a pressure regulator on the outside wall. The gas that comes from the street mains is under high pressure. This will ensure that the pressure of gas is reduced to a safe level, which is quite low for domestic consumption. Through this, you are able to operate your appliances and keep yourself safe.
4. Pressure Testing and Final Turn-On
Safety rules say that a strong pressure test has to be done before gas goes into the house. Installers close up the line, fill it with air, and use a test gauge to see if the pressure stays the same. A city inspector will check the test and approve. Then comes the step where the gas company opens the main valve, empties the air out of the pipes, and lets the gas flow to the appliances in the house.
Wrap-Up
Putting in a gas line from the street to a house meter requires proper planning, digging, and many safety tests. The crew looks at the spot, does testing for leaks, and makes sure the setup works well. This keeps the gas safe for you, your family, and your home for many years. While big energy companies use connect gas to house setups that run tools in the field, a clean gas line to your house gives you a steady way to get energy every day. The city connects the main line so your home gets warm and you feel comfortable.